Easter Sunday is in a few days! So I decided to get some inspirations for nails on YouTube! And… I have found some really cute and simple ones. If you don’t celebrate Easter, you still can recreate this nail art, as it’s really cute, bubbly and just so pretty for the Spring season! You can practically wear this nail design all year round! I mean, who doesn’t like a cute bunny or two in their lives right? In my case, I have 10 bunnies to keep me accompany! 😀
So let’s jump into everything shall we?
Basically we start of with a base colour. You can use any cute pastel colours (it’s Spring time!), or you can go for the shimmer. I chose the shimmer as I don’t own many pastel nail polishes, and I really wanted a more bright and shinny overall. So the shimmer is my calling!
I have also decide to go with more than 1 base colour- I wanted a more fun style this Easter and Spring. So I many chosen a metallic/shimmer blue, green and orange:

Left to Right: Eleanor's Blue, Eleanor's Green, OPI's Totally Tangerine
Here is the look after applying the 3 base colours:

These colours make me super happy! 😀
Next up is painting out the bunny face and I used just a simple Eleanor’s white polish. And the outcome?

The outlook for this actually seems really nice! This gives me an idea of doing french tips using bright coloured bases!
Now for the bunny ears!

The bunny ears need not be perfect, some pairs of ears may be closer than others, and that’s fine. You want to have all your bunnies with different personalities right? 😀
Let’s add in the details on the bunny ears first! This gives it depth, and highlights the ears more. I use The Face Shop’s Nude nail polish.


Now let’s add details on the bunny’s face- adding in the eyes! Since I do not have black polish, I chose my super dark purple that I have- Arezia’s purple. It has a little shimmer in it- not that I want it to have any glitter, but this is my only darkest nail polish. So, if you don’t have black like I do, you can improvise by choosing the darkest polish in your personal polish collection.

And we have cute bunny eyes!

Next we need noses for the bunnies to breathe, so I’m using the same tangerine nail polish by OPI, you have seen earlier to create the little dot as the noses. Doesn’t this picture look absolutely adorable! The lighting in my room really does justice and enhance the beauty of this photo!
I totally love this picture!
Last detail on the face of the bunny is to enhance the cute fluffy cheeks of the bunnies! You were thinking the last detail should be the mouth of the bunnies weren’t you? Haha! If you girls prefer adding the mouth instead of the cheeks, and it’s really fine as well! 😀 For the cheeks, I used The Face Shop’s Nude nail polish.

After applying a top coat to give each nail extra shine and allow the design that you have worked hard on last much longer, we are DONE! 🙂
For all the details I have done, for instance the bunny’s extra depth ears, the eyes. the nose and the cheeks, it was all done with the dotting tool I just purchased recently! Absolutely love them. They are so easy and convenient to use. Good at creating dots of small and large sizes! Not that toothpicks and bobby pins aren’t good, but the dotting tools does give you the different options of dot sizes. If you do not have or want to invest in a set of dotting equipment, then using toothpicks or bobby pins will get to a similar effect.
Here’s my tools:

Summary of how to get to bunny fingers! 😛

Easy steps to get bunny nails!
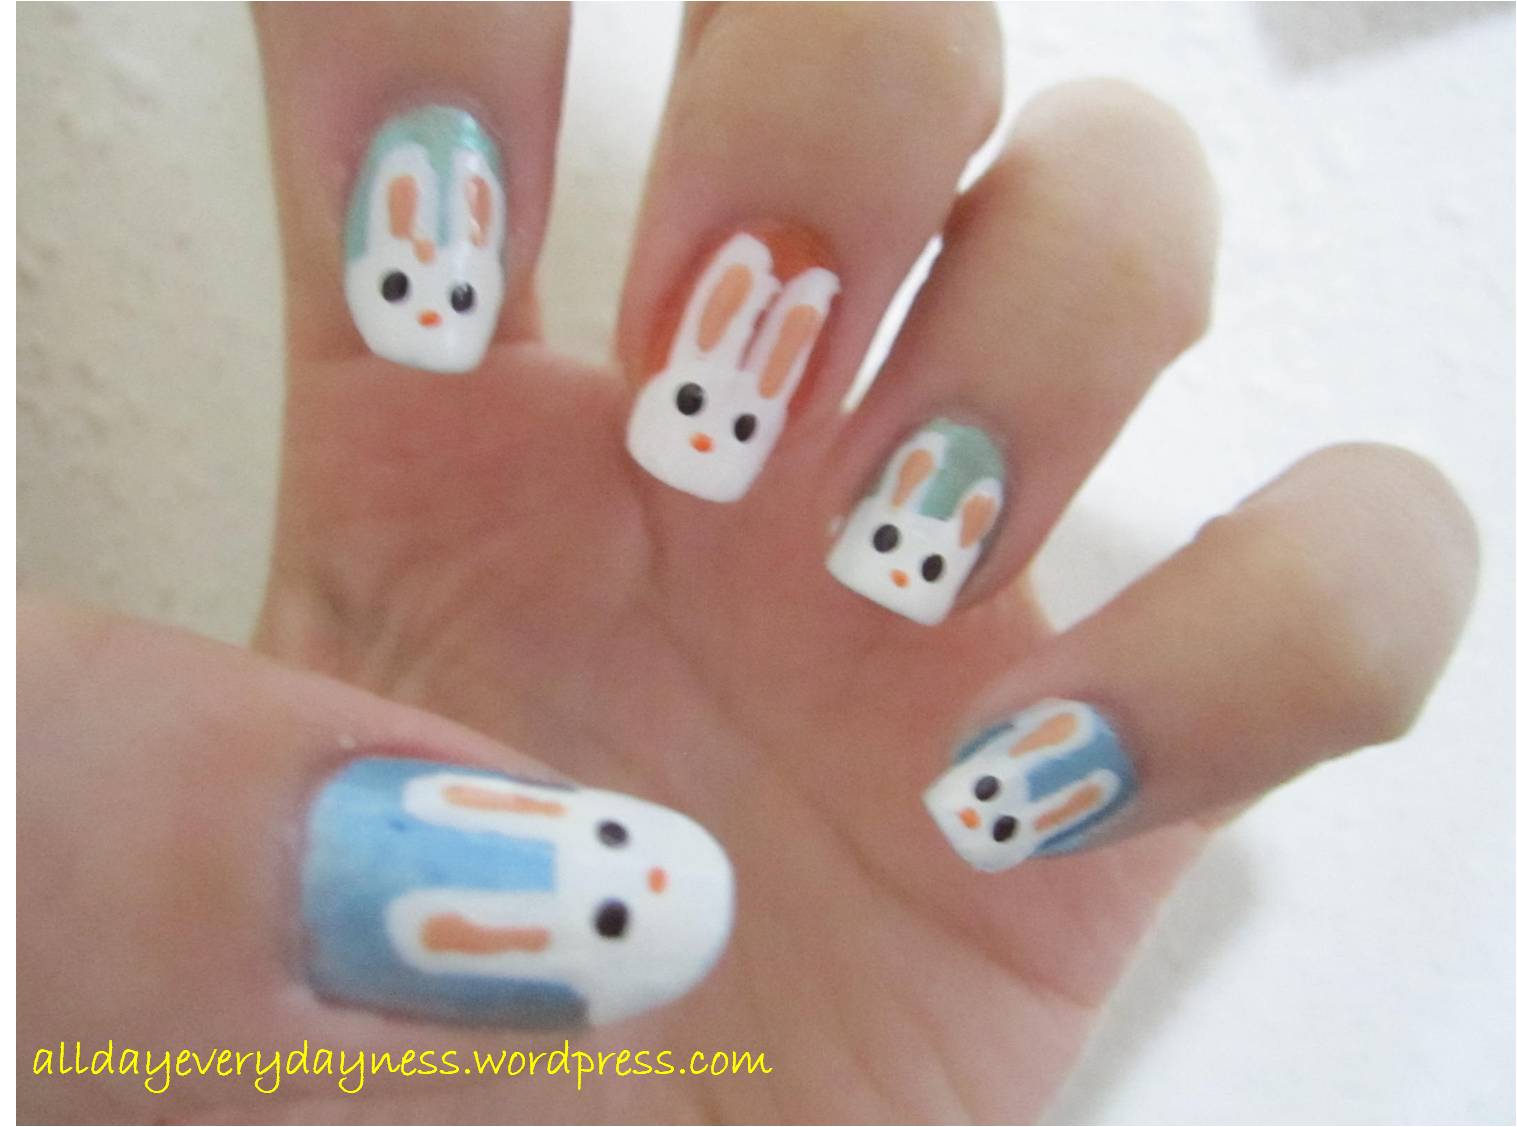
Here are some finished photos!

Which side of the hand has better bunnies? I kinda prefer my right! But the left side has cute big eyes on them (unintentionally done)! Can't decide!

My favourite bunny on my left thumb
I got my inspiration from:
Disclaimer: All the items mentioned above are entirely purchased by me.
Items can be purchased at Sasa for the Eleanor’s blue and green Nail Polish, at Sephora for the OPI’s Totally Tangerine Nail Polish, and at The Face Shop for the nude Nail colour. The dotting tool was purchased online.